Candles burn out all the time, leaving stubs of wax that often end up in the trash. Across the globe, this discarded wax piles up, adding to waste that clogs landfills and releases harmful gases as it breaks down. Meanwhile, buying new candles costs money and uses resources like paraffin or soy, which take energy to produce. What if you could give that old wax a fresh start? Candle Wax Revival does just that: melt down leftovers, reshape them, and light them up again. It is a cozy, eco-friendly way to cut waste and enjoy new scents.
This blog explores Candle Wax Revival in detail. You will learn what it is, how to do it step-by-step, and why it’s a small change with a big impact. Wherever you are, this simple idea brings warmth and sustainability home.
What Is Candle Wax Revival?
Candle Wax Revival turns old candle stubs into new ones. You gather the bits left after a candle burns out—those hardened pools or broken chunks—and melt them down. Then you pour the liquid wax into jars or molds, add a wick, and drop in natural oils for a fresh scent. Once it cools, you have got a brand-new candle, ready to glow again. It is like giving wax a second life, all from things you already have.
This is not about buying fancy kits or starting from scratch. It is a hands-on reuse project—messy in a fun way, practical in a green way. You light it up or gift it, and that old wax keeps shining instead of rotting in a bin
Why Do This?
Waste from candles adds up. When wax hits the trash, it sits in landfills, slowly breaking down and releasing methane—a gas that heats the planet. Making new candles is not innocent either; it uses oil-based paraffin or harvested soy, both demanding fuel, water, and land. Reviving wax skips all that. Those stubs that you would toss get remade into something useful, stretching what’s already here.
It is practical too. You save the cash you would spend on new candles—money better kept in your pocket. Plus, you get to play with scents, turning a dull lump into a lavender glow or a citrus spark. It is a climate win that smells amazing.

How Does It Work?
Anyone can revive candle wax with stuff lying around—no special tools needed. Here is how it unfolds:
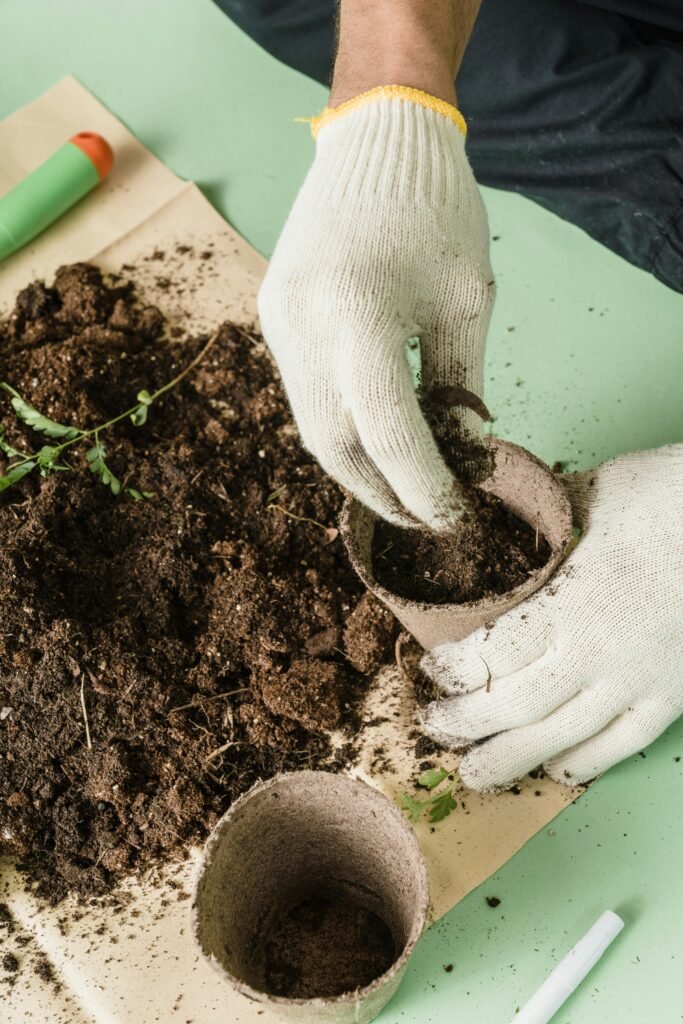
1. Gather Old Wax:
Collect leftover candle bits—stubs, drips, or chunks from jars. Scrape them out with a spoon or break them free. Even tiny pieces work; just pile them up.
2. Set Up a Melting Spot:
Find an old can or a metal pot you don’t mind messing up—something to heat the wax in. Place it in a bigger pot with water, like a double boiler, to melt it safely over a stove or hot plate.
3. Melt the Wax:
Heat the water on low, letting the wax soften and turn liquid. Stir it with an old spoon or stick to blend colors or bits. It takes 10-20 minutes, depending on how much you’ve got.
4. Prepare a Container:
Grab a jar, cup, or mold—anything heat-safe, like glass or tin. Tie a wick (buy cheap ones or use string dipped in wax) to a pencil and rest it across the top to hold it centered.
5. Pour and Scent:
Carefully pour the melted wax into your container. Add a few drops of natural oils—lemon, lavender, or whatever you like—for a fresh smell. Stir gently before it sets.
6. Let It Cool:
Leave it alone for a few hours—overnight is best. The wax hardens around the wick. Trim the wick to half an inch once it is solid, and you’re done.
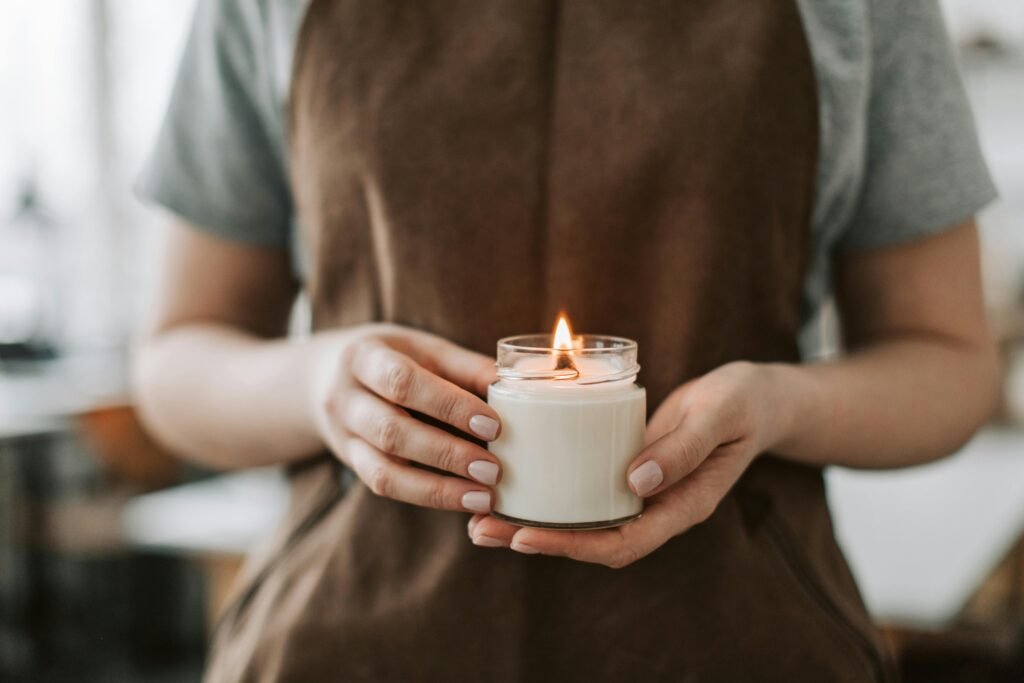
7. Light or Share:
Light it up for a cozy night or wrap it as a gift. Friends love handmade stuff, and it is free to you.
Try it whenever you finish a candle—once a month or after a big holiday burn. It is a habit that grows on you.
What Do You Need?
You do not need much—just scraps and basics. Old wax is the star; any kind works—soy, beeswax, or paraffin. Containers can be empty jars, teacups, or silicone molds from your kitchen. Wicks are cheap at craft stores, or you can make them with cotton string and a dip in melted wax. Natural oils like eucalyptus or orange add scent—find them in small bottles at markets. Old spoons, cans, or pots handle the melting—nothing fancy, just heatproof.
It is all about reusing what’s around. No need for plastic kits or new gear—keep it simple and green.
Who Can Do It?
Anyone with a candle stub can try this. You could do it alone after dinner, melting wax in a quiet kitchen. Families might turn it into a weekend project—kids love pouring and picking scents. Friends could swap revived candles at gatherings. It is low-cost and low-skill—perfect for beginners or crafty types alike.
No money trades hands for the process—just your time and scraps. It is open to all, from teens to grandparents, anywhere with a flame and a corner to work in.
What Could Happen?
Reviving wax cuts waste fast. One candle stub might seem small, but save 10 over a year, and you have kept a heap out of the trash—less methane floating up, less landfill clutter. Multiply that by a neighborhood doing it, and the impact grows. Fewer new candles get made, easing the drain on oil fields or soybean farms.
You save cash too—why buy a candle when you can remake one for free? Homes smell better and gifting them spreads the vibe—friends light up something you crafted. It’s a cozy fix that fights climate change, one glow at a time.
Challenges Exist
It is not always perfect. Melting wax can spill—lay down newspaper to catch drips. Too much heat might scorch it; keep the flame low and steady. If the wick flops, the candle won’t burn right—secure it tight before pouring. Oils can overpower if you overdo it—just a few drops do the trick.
Cooling takes patience—rush it, and the wax cracks. Leftovers might pile up if you hoard stubs; use them or share them quick. These are small bumps—tweak as you go, and it smooths out.
How to Start
Begin with what’s in front of you. Next time a candle burns out, scrape the wax into a pile. Set up a can in a pot of water, heat it low, and melt it down. Pour it into an old mug with a wick—add a drop of oil if you have got it. Let it cool overnight, then light it. If you like it, save more stubs and try jars or molds next time. Share one with a friend—they will ask how you did it.
You can start tonight. Check your shelves for stubs, grab a spoon, and give it a go. Light it up and feel the planet smile.
Conclusion
Candle Wax Revival gives old wax a new glow. Melt it down, pour it fresh, and scent it up—stubs turn into candles that light your space or warm a gift. Do it whenever a flame dies out—it cuts waste, saves money, and smells great. It is an eco-cozy fix for a warming world. Do not toss that wax—revive it today.
Frequently Asked Questions (FAQs)
Is it safe to melt wax at home?
Yes, it is safe if you are careful. Use a double boiler setup—an old can in a pot of water—over low heat to melt the wax gently. Keep the flame or burner low so it does not overheat or catch fire—wax burns if it gets too hot. Do not leave it unattended and keep kids or pets away while it is liquid. It is no riskier than cooking, as long as you stay mindful.
What if I do not have natural oils for scent?
No oils? No problem! The candle still works fine without them—old wax often keeps some of its original smell anyway. You could also mix in dried herbs or spices from your kitchen, like cinnamon sticks or lavender buds, for a subtle scent. Or skip the fragrance entirely; the glow and the green vibe are plenty. It is flexible—use what you have got.
Can I reuse any type of candle wax?
Pretty much, yes—most wax types revive well. Soy, beeswax, paraffin, or even those glittery blends from fancy candles all melt down and reshape. Just know that mixing different kinds might change the texture or burn time a bit—soy’s softer, paraffin’s harder. Scrape off any charred bits or dirt first. Whatever you have burned before can glow again.
Do share your thoughts by commenting below.